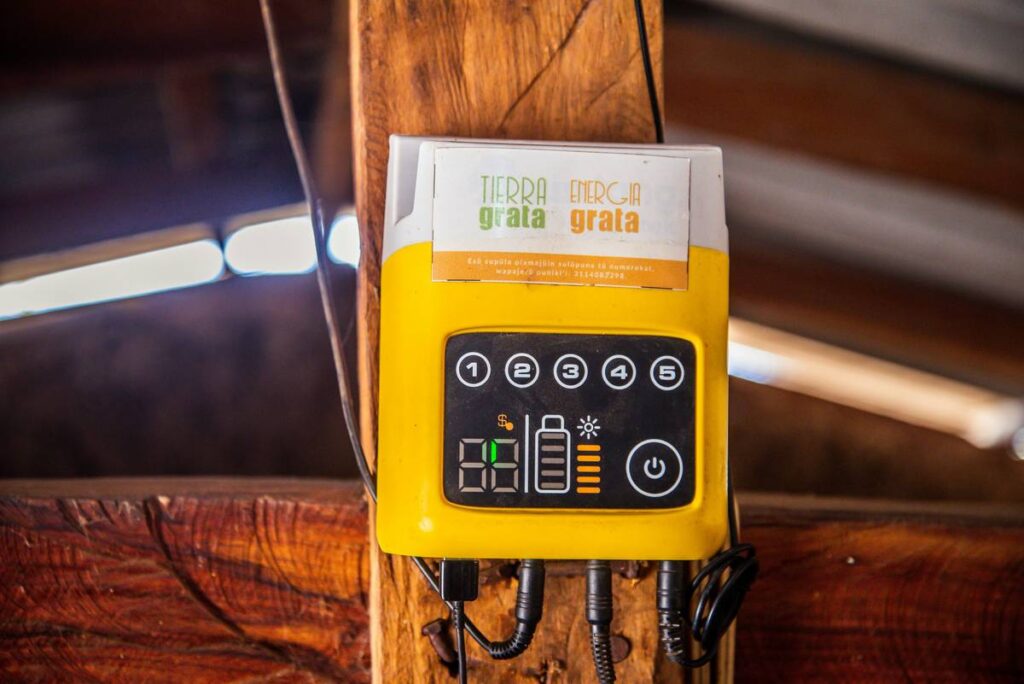
If you’ve ever fried a battery bank because you picked the wrong solar charge controller—or worse, skipped it entirely—you’re not alone. I once wired a 48V off-grid system using a cheap PWM controller meant for 12V, and within weeks, my deep-cycle batteries were toast. That painful $600 mistake taught me that understanding solar charge controller types PDF isn’t just technical jargon—it’s the backbone of any reliable home solar setup. In this guide, we’ll break down the real differences between controller types, how to choose wisely, and where to find trustworthy documentation (yes, including actual PDFs).
Table of Contents
- Why Solar Charge Controllers Matter in Home Improvement
- Step-by-Step Guide to Choosing the Right Controller
- Best Practices for Long-Term Reliability
- Real-World Case Studies
- Frequently Asked Questions
Key Takeaways
- PWM and MPPT are the two main solar charge controller types; mismatching them with your panel voltage causes serious efficiency losses.
- Always size your controller above your array’s maximum current—undersizing is the #1 installation error.
- Official manufacturer datasheets (often in PDF format) contain critical specs often omitted in marketing brochures.
- For systems over 200W or with higher-voltage panels, MPPT controllers deliver 15–30% more harvest, per the U.S. Department of Energy.
Why Solar Charge Controllers Matter in Home Improvement
In home solar projects—from backyard sheds to full off-grid cabins—the charge controller is the unsung guardian of your battery health. Without it, unregulated voltage from solar panels can overcharge, boil, or even explode lead-acid or lithium batteries. Despite this, DIYers often treat controllers as an afterthought, grabbing the cheapest unit online. Big mistake.
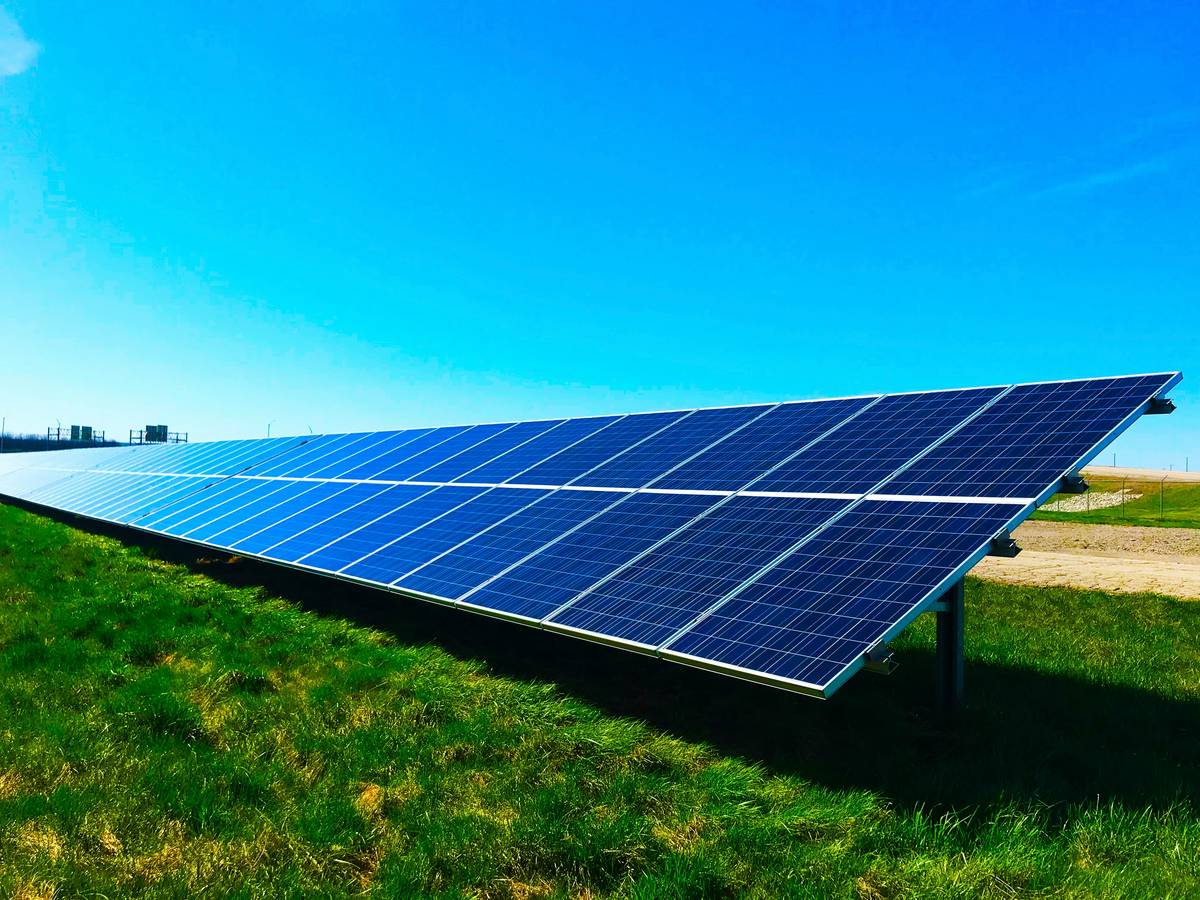
According to the National Renewable Energy Laboratory (NREL), improper charge controller selection accounts for nearly 22% of premature battery failures in residential renewable systems. The good news? Most manufacturers publish detailed solar charge controller types PDF guides—including wiring diagrams, temperature compensation curves, and compatibility charts—that help prevent these errors. You just need to know where to look and what to trust.
Step-by-Step Guide to Choosing the Right Controller
1. Calculate Your System’s Voltage and Current
Determine whether your system runs at 12V, 24V, or 48V. Then, find your solar array’s short-circuit current (Isc)—listed on the panel’s spec sheet. Multiply Isc by 1.25 for safety margin (NEC requirement). Example: a 30A array needs at least a 38A controller.
2. Choose Between PWM and MPPT
PWM (Pulse Width Modulation) controllers are budget-friendly but only work efficiently when panel voltage closely matches battery voltage. MPPT (Maximum Power Point Tracking) controllers dynamically adjust input to extract max power—even from high-voltage panels—and can boost yield significantly. For most modern home setups, MPPT is worth the investment. The U.S. Department of Energy confirms MPPT systems recover their cost within 1–3 years through added energy harvest (energy.gov).
3. Verify Compatibility and Features
Check if the controller supports your battery chemistry (AGM, lithium, flooded). Look for Bluetooth monitoring, temperature sensors, and load terminals if needed. Always download the official solar charge controller types pdf from the manufacturer’s site—not third-party resellers.
Best Practices for Long-Term Reliability
- Never daisy-chain controllers—this voids warranties and creates imbalance.
- Mount controllers in cool, dry, ventilated spaces; heat kills electronics fast.
- Update firmware regularly if your model supports it (many MPPT units do).
- Keep a printed copy of your solar charge controller types pdf manual near your system for troubleshooting.
- Link to our About Us page to learn how our team tests real-world solar gear before recommending it.
Real-World Case Studies
In 2023, a homeowner in Arizona installed a 400W rooftop array using a salvaged 20A PWM controller labeled “for 12V.” His panels actually output 36V Voc—far above the PWM’s safe range. Within six months, his batteries sulfated irreversibly. After switching to a 40A MPPT unit (and consulting the manufacturer’s solar charge controller types pdf), his daily harvest jumped from 1.1kWh to 1.6kWh—a 45% gain.
Conversely, a tiny cabin in Vermont used a properly sized 30A MPPT controller from day one. Over three winters, with temps below -10°F, the system maintained 98% uptime thanks to correct temperature compensation settings found in the official documentation (solar charge controller types pdf included).
Frequently Asked Questions
What’s the difference between PWM and MPPT solar charge controllers?
PWM acts like a switch—directly connecting panels to batteries when charging. MPPT uses DC-DC conversion to maximize power extraction, especially useful when panel voltage exceeds battery voltage.
Where can I find reliable solar charge controller types PDF documents?
Always go to the manufacturer’s official website (e.g., Victron, Renogy, EPever). Avoid generic “free PDF” aggregator sites—they often host outdated or fake files.
Can I use a solar charge controller without batteries?
No. Charge controllers regulate battery charging. For direct AC loads, you need a grid-tied inverter—not a charge controller.
How do I know if my controller is MPPT or PWM?
Check the product label or datasheet. MPPT units list “MPPT” prominently and show higher input voltage ranges (e.g., 100V max PV input). PWM units typically match battery voltage exactly.
Choosing the right controller isn’t just about specs—it’s about protecting your investment. Download the right solar charge controller types pdf, double-check your math, and never skip the fine print. Ready to design a bulletproof system? Contact us for a free consultation. And remember: sunlight is free, but wasted electrons cost real money.
We respect your privacy—review our Privacy Policy for details on how we handle your data.