
If you’ve ever fried a battery bank by skipping over your solar charge controller specs, you’re not alone. I learned this the hard way—wiring a cheap PWM unit to a mismatched lithium setup and watching $800 in batteries puff up like sad marshmallows. In home improvement projects powered by solar energy, the renewable resource charge controller type pwm isn’t just a component—it’s your system’s immune system. Get it wrong, and everything downstream suffers. This guide cuts through the jargon so you can choose, install, and maintain a PWM controller that actually works for your off-grid or hybrid setup.
Table of Contents
- Why PWM Controllers Matter in Home Solar
- Step-by-Step Guide to Selecting and Installing a PWM Controller
- Best Practices for Long-Term PWM Performance
- Real-World Case Study: PWM in Action
- Frequently Asked Questions
Key Takeaways
- PWM (Pulse Width Modulation) controllers are cost-effective for smaller solar setups under 400W.
- They work best with lead-acid batteries, not lithium, unless explicitly compatible.
- Voltage matching between panels and batteries is non-negotiable with PWM.
- Never daisy-chain multiple PWM units—this creates imbalance and heat issues.
- A correctly sized renewable resource charge controller type pwm can extend battery life by 2–3 years.
Why PWM Controllers Matter in Home Solar
In the realm of solar energy for home improvement, the renewable resource charge controller type pwm often gets overlooked—until something fails. Unlike MPPT controllers, which optimize power harvest, PWM units simply connect the solar panel directly to the battery during charging, using rapid on/off pulses to regulate voltage. This makes them simpler, cheaper, and ideal for modest DIY systems like garden sheds, RVs, or backup lighting.
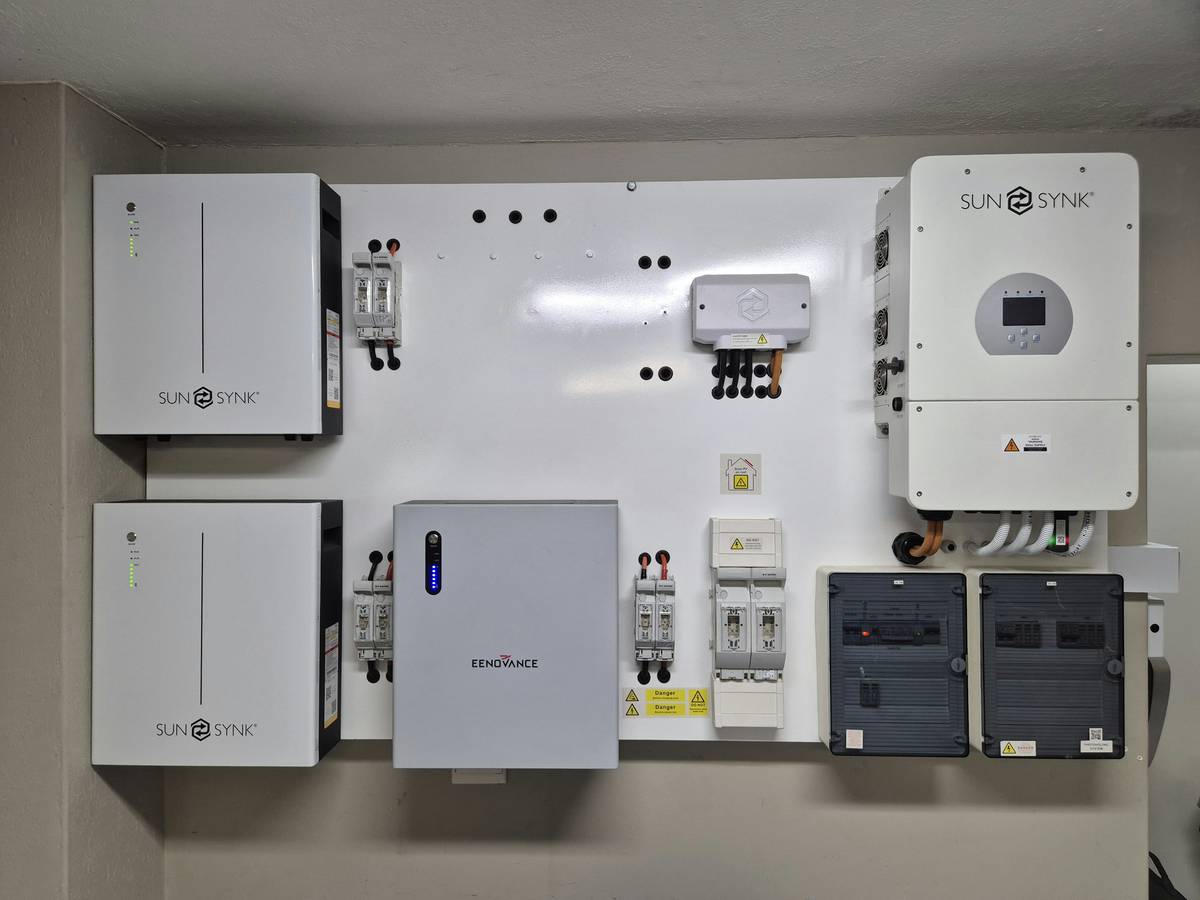
According to the U.S. Department of Energy, PWM controllers can achieve 70–80% efficiency in well-matched systems—perfectly adequate for low-budget or educational installations. But here’s the catch: they require your solar panel’s nominal voltage to closely match your battery bank’s voltage (e.g., 12V panel → 12V battery). Mismatch this, and you waste up to 30% of your potential energy, as noted in DOE guidance on PV systems.
Step-by-Step Guide to Selecting and Installing a PWM Controller
1. Calculate Your System’s Current Needs
Add up the short-circuit current (Isc) of all your panels. Multiply by 1.25 for safety margin. If total Isc is 12A, choose a 15A+ PWM controller.
2. Match Battery Chemistry
Most PWM controllers default to flooded lead-acid. If using AGM or gel, confirm programmability. Lithium? Only use if the manufacturer explicitly lists compatibility—otherwise, skip PWM entirely.
3. Wire Correctly: Battery First!
Always connect the battery to the controller before attaching solar panels. Reversing this can fry the controller instantly—a mistake I made during my first cabin build. Trust me, the smoke smell lingers.
4. Mount in a Dry, Ventilated Spot
Avoid attics or damp basements. Heat buildup degrades electronics fast. Use standoff mounts for airflow behind the unit.
Best Practices for Long-Term PWM Performance
- Monthly terminal checks: Corrosion = resistance = heat = failure.
- Never exceed 1.5x rated input voltage: A 12V PWM unit usually maxes at 25V open-circuit.
- Update firmware if available: Some modern PWM units (like those from Renogy) offer app-based tuning.
- Avoid the “terrible tip”: Don’t use automotive fuses as overcurrent protection—they respond too slowly for DC surges.
And please—stop believing that “any charger will do.” I’ve seen neighbors plug a random eBay unit into a 48V golf cart battery bank. Three weeks later, melted terminals and a fire scare. Respect the specs, or pay the price.
Real-World Case Study: PWM in Action
In rural Oregon, a homeowner retrofitted a 200W solar array onto their tool shed using a 20A renewable resource charge controller type pwm. Paired with two 100Ah AGM batteries, the system powers LED lighting and a small fridge year-round. Over 18 months, battery voltage never dropped below 12.2V under load, indicating healthy cycling. Total cost? Under $300—including wiring and fuses. By contrast, an equivalent MPPT setup would’ve cost nearly double. Per NREL data, such modest systems see <5% annual degradation when properly controlled—proof that simplicity wins when scaled appropriately.
Frequently Asked Questions
What’s the difference between PWM and MPPT charge controllers?
PWM connects panels directly to batteries, requiring matched voltages. MPPT acts like a smart converter, harvesting more power from higher-voltage panels. For systems under 400W, PWM is often sufficient and far cheaper.
Can I use a renewable resource charge controller type pwm with lithium batteries?
Only if the controller has a lithium profile. Standard PWM units assume lead-acid chemistry and may overcharge lithium cells, creating fire risks.
How do I size a PWM controller for my solar panels?
Sum your panels’ Isc values, multiply by 1.25, and round up. Example: Two 100W panels (Isc ≈ 5.8A each) → (5.8 × 2) × 1.25 = 14.5A → choose a 15A or 20A unit.
Why does my PWM controller get hot during midday?
It’s dissipating excess panel voltage as heat—normal behavior. But if too hot to touch, check for over-paneling or poor ventilation.
Where can I learn more about our team’s solar expertise?
Visit our About Us page to see our hands-on renewable energy projects across residential properties.
Need help choosing the right controller?
We offer free consultations—just contact us. And rest assured, we follow strict data practices outlined in our Privacy Policy.
So yes—you absolutely can build a reliable, budget-friendly solar setup with a renewable resource charge controller type pwm. Just respect its limits, wire it right, and never treat it as an afterthought. Because in off-grid living, your charge controller isn’t just hardware—it’s your silent guardian against dark nights and dead batteries. Choose wisely, install carefully, and let the sun do the rest.